Managing Recipients
Recipients are the employees (or other people) in your organization who need to complete compliance requirements. You can add them one at a time, import a list from a spreadsheet, or paste in a batch of email addresses.
Viewing Recipients
Section titled “Viewing Recipients”Click Recipients in the sidebar to see everyone who has been added to the system.
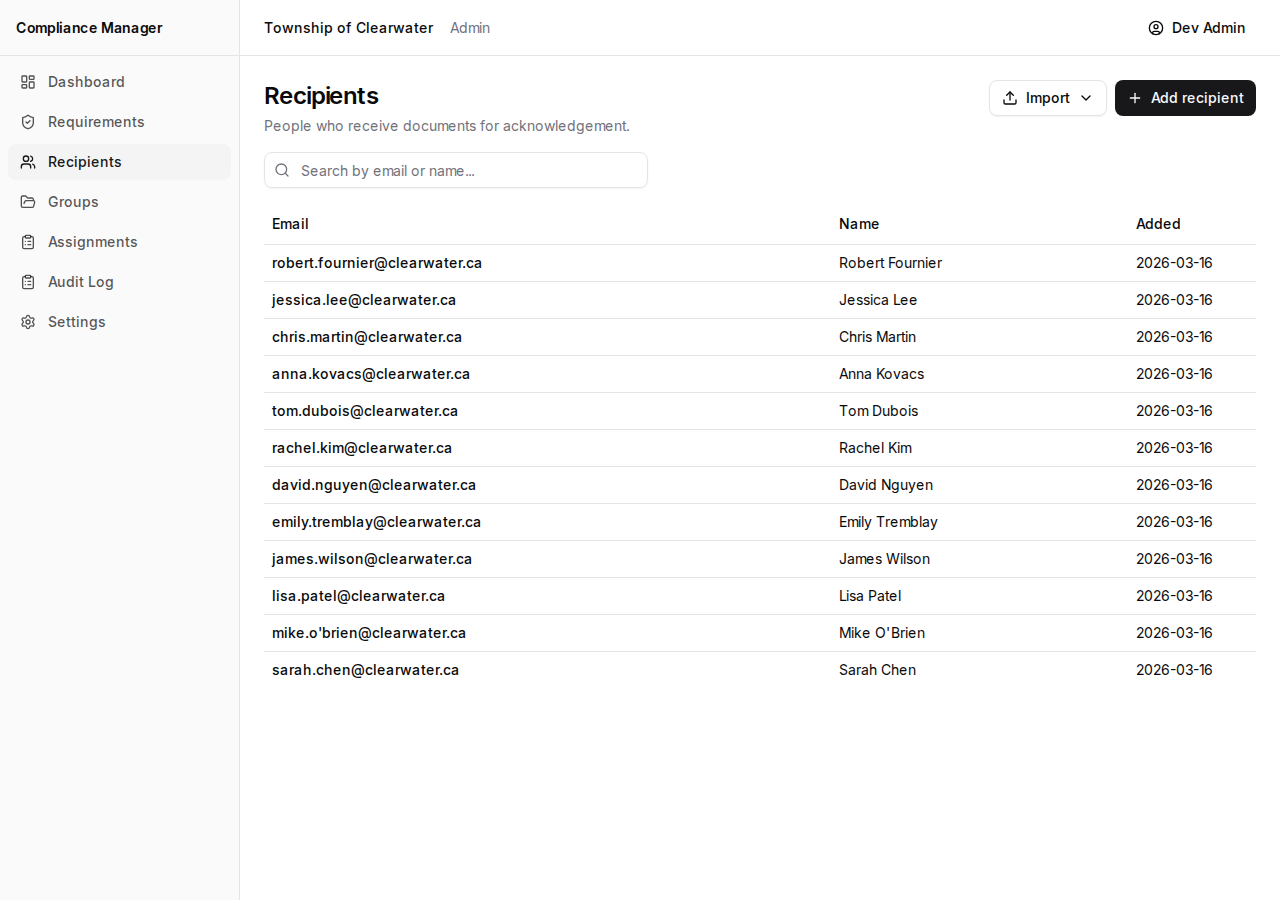
The table shows:
| Column | What it means |
|---|---|
| The recipient’s email address. | |
| Name | The recipient’s display name (if provided). |
| Added | The date the recipient was added. |
Use the search bar at the top to filter the list by name or email. This is helpful when you have a long list and need to find someone quickly.
Adding a Single Recipient
Section titled “Adding a Single Recipient”- Click the Add recipient button.
- Enter the recipient’s email address (required).
- Enter their display name (optional but recommended — it makes them easier to identify in lists and reports).
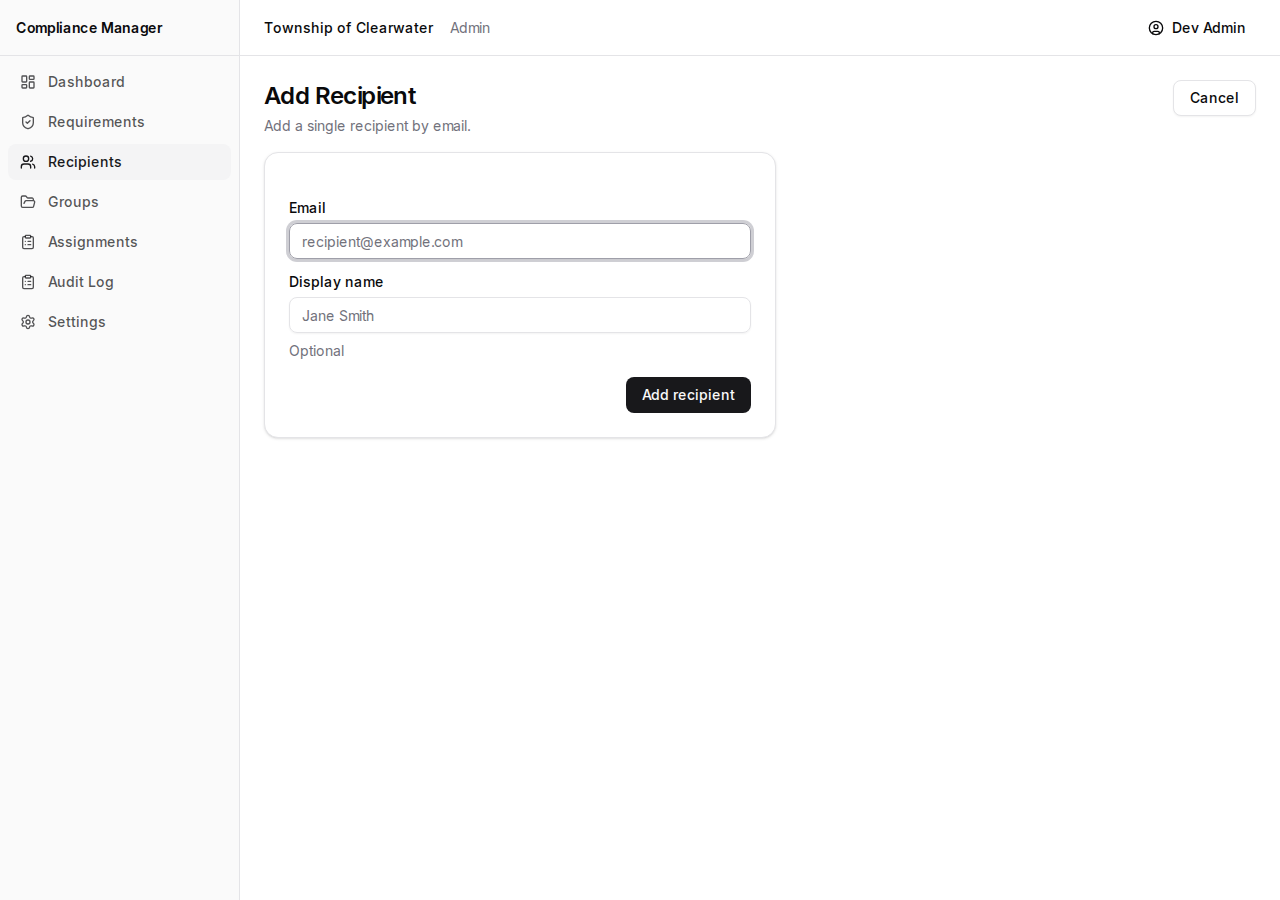
- Click Add recipient.
The new recipient will appear in your list right away.
Importing from CSV
Section titled “Importing from CSV”If you have a spreadsheet of employee email addresses, you can import them all at once.
- Click the Import dropdown button.
- Select Import CSV.
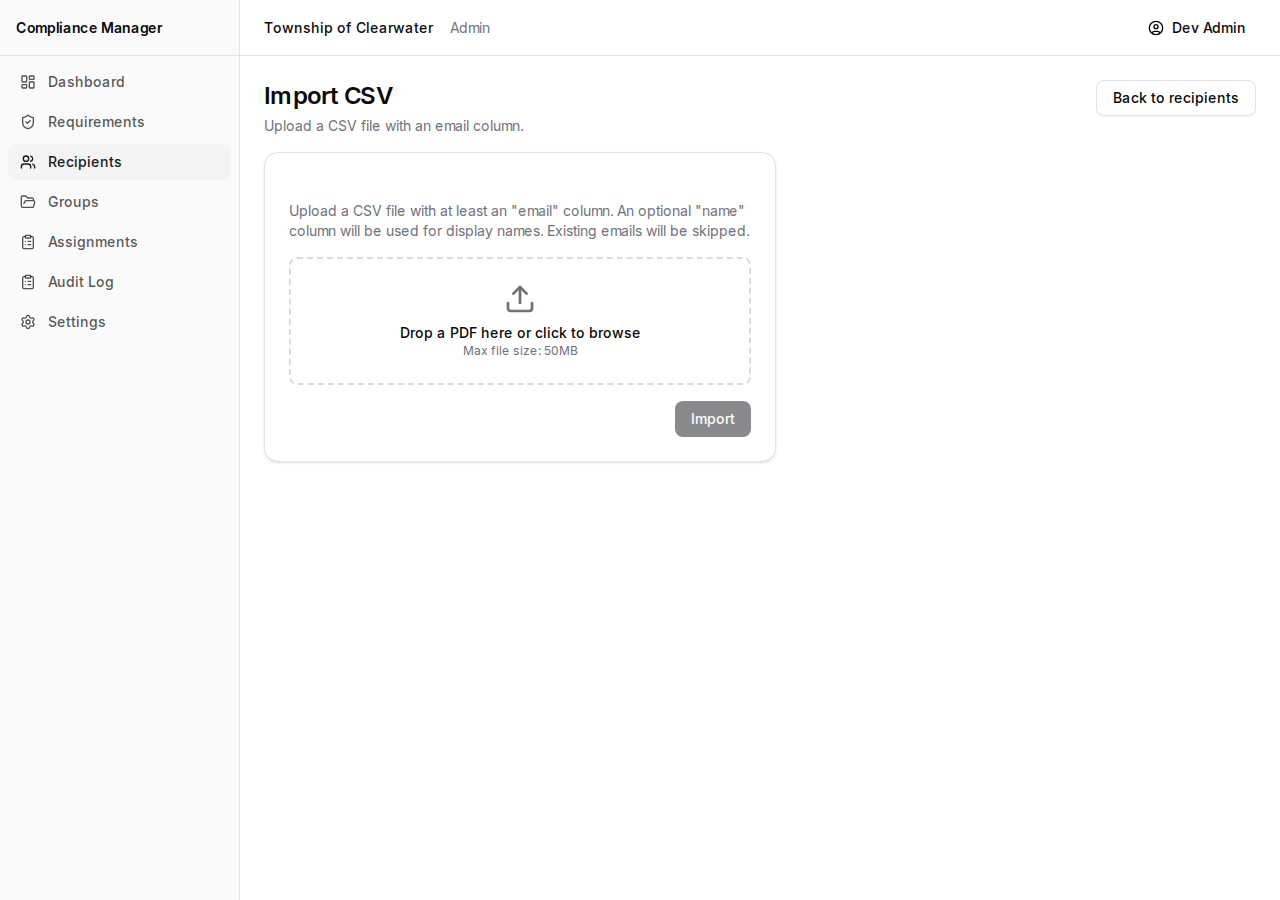
- Upload your CSV file. The file should contain email addresses (one per row).
- After the import finishes, you will see a summary:
- Imported — The number of new recipients added.
- Skipped — The number of email addresses that were already in the system.
- Errors — The number of rows that could not be imported (for example, an invalid email format).
Pasting Email Addresses
Section titled “Pasting Email Addresses”For a quick add without preparing a file, you can paste emails directly.
- Click the Import dropdown button.
- Select Paste emails.
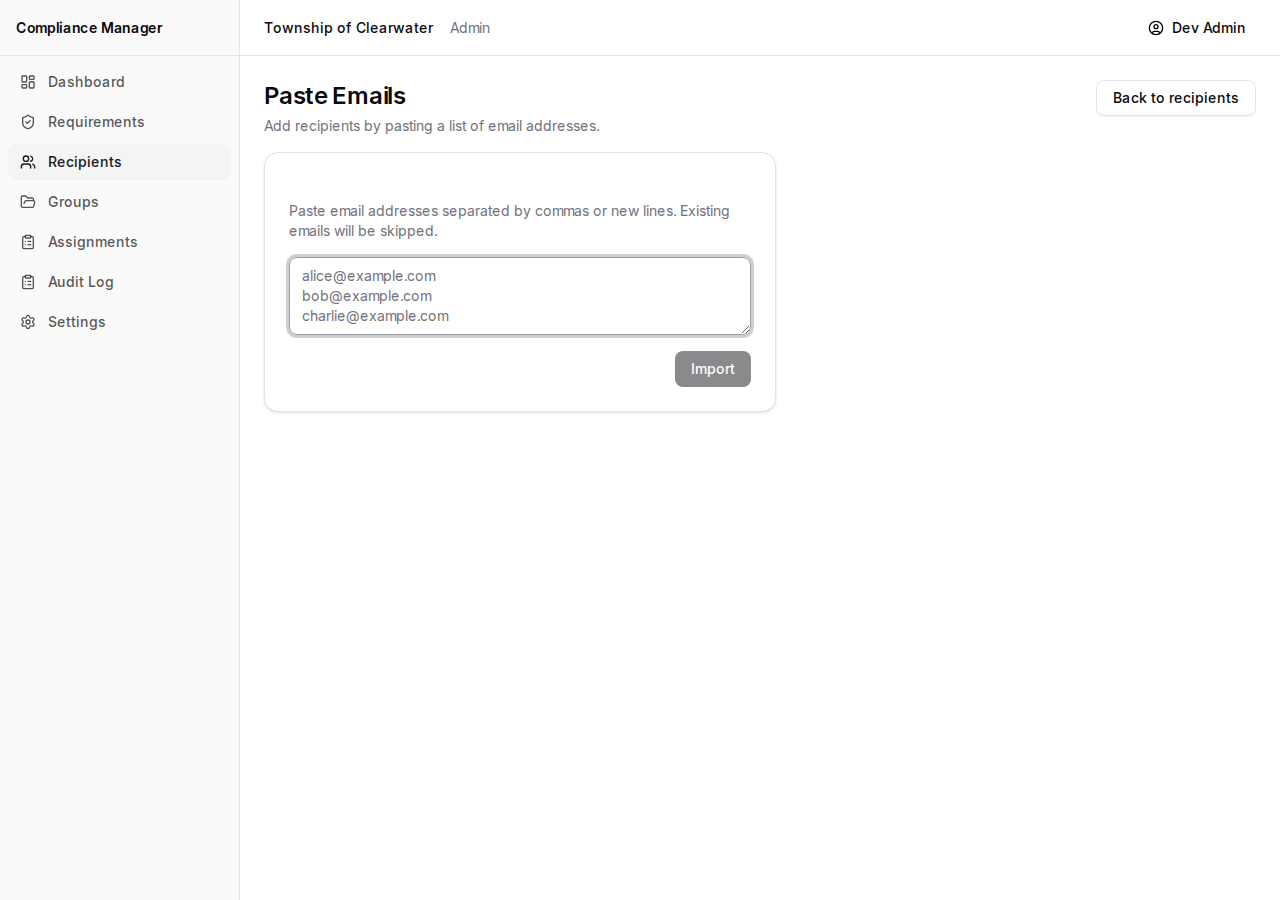
- Type or paste email addresses into the text box. You can enter them:
- One per line, or
- Separated by commas.
- Click Import.
The system will add any new addresses and skip any that already exist.
Viewing Recipient Details
Section titled “Viewing Recipient Details”Click on a recipient’s email address in the list to open their detail page.
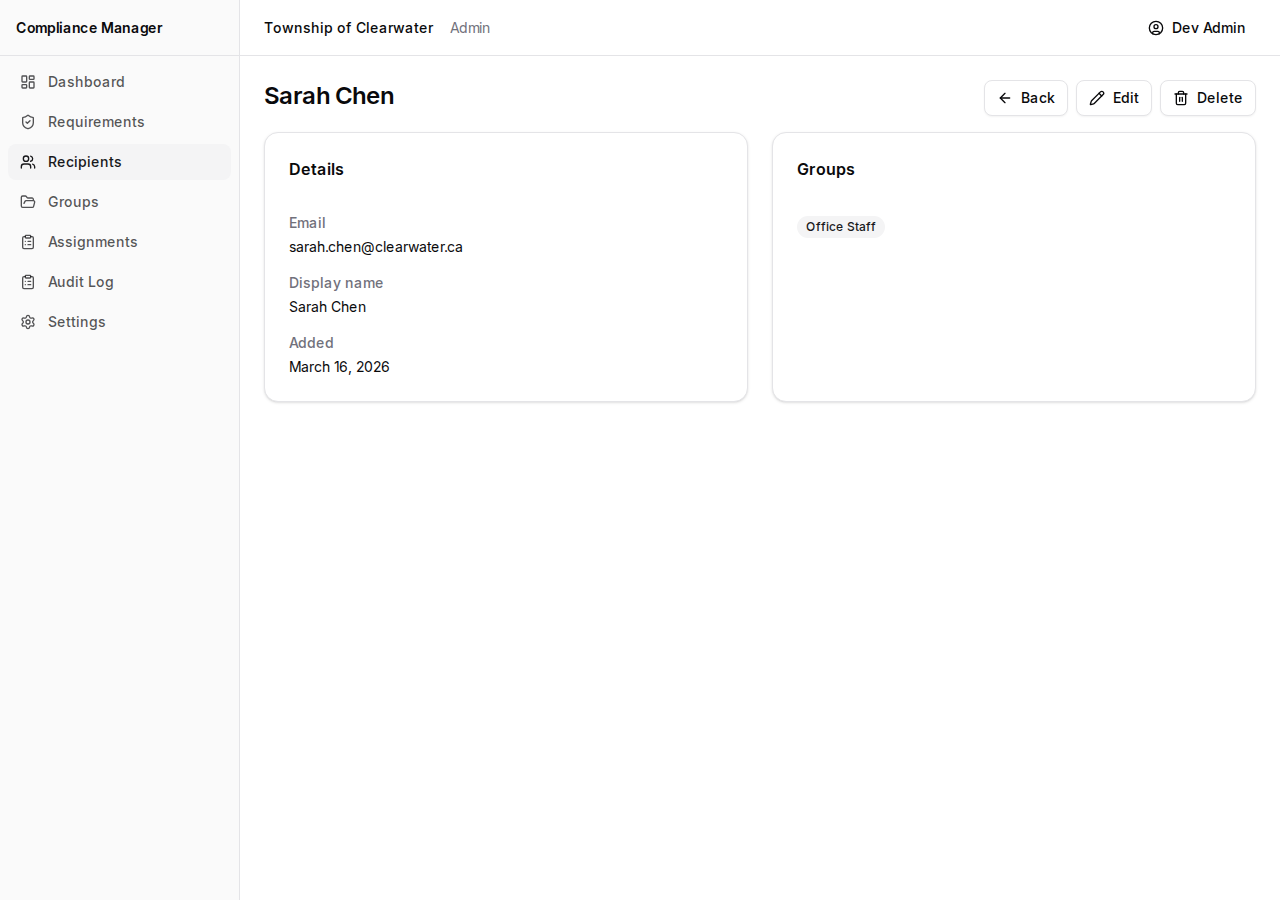
The detail page shows:
- Their email address.
- Their display name.
- The groups they belong to.
Editing a Recipient
Section titled “Editing a Recipient”- On the recipient’s detail page, click Edit.
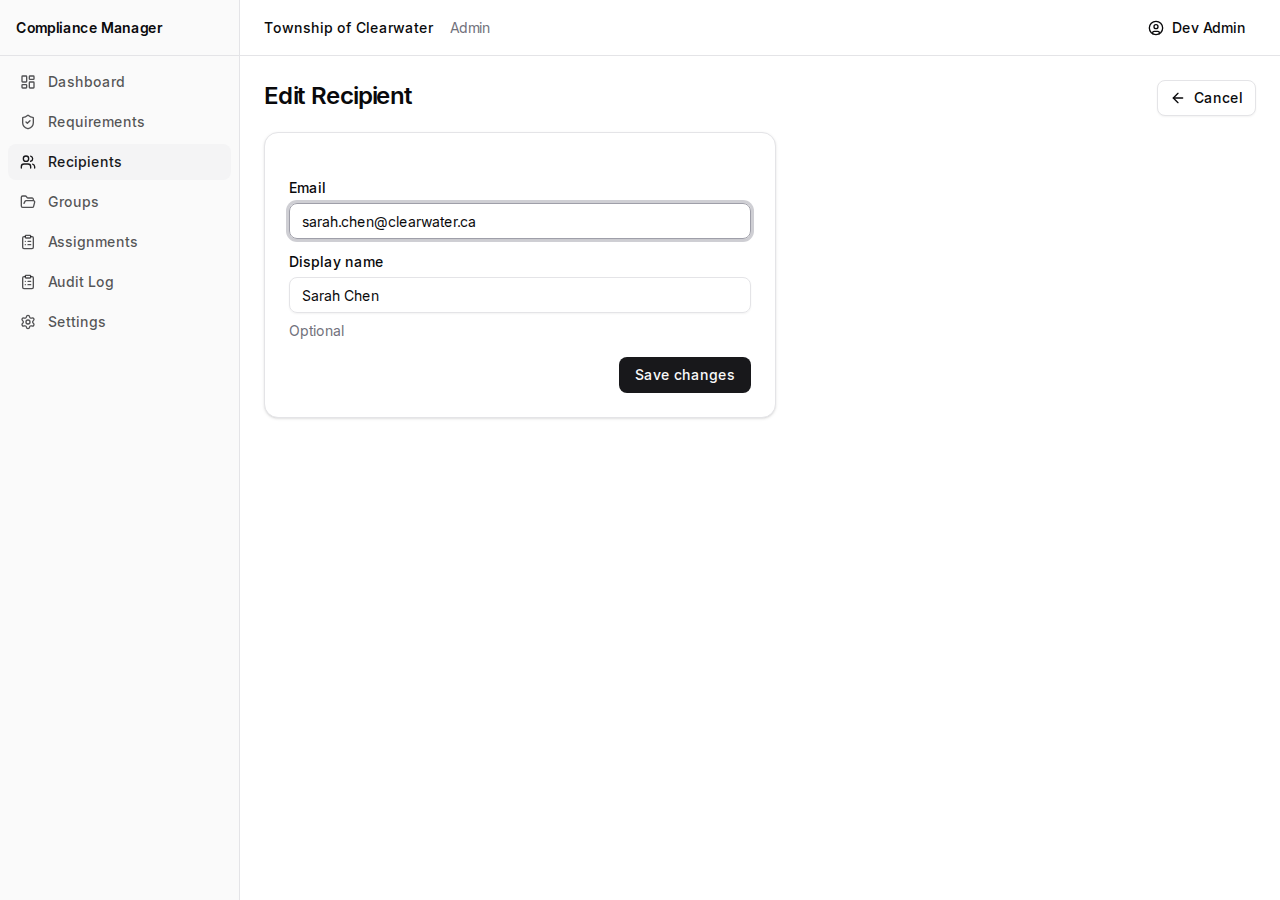
- Update the email address or display name as needed.
- Click Save changes.
Deleting a Recipient
Section titled “Deleting a Recipient”- On the recipient’s detail page, click Delete.
- A confirmation dialog will appear. Confirm that you want to remove the recipient.
Deleting a recipient removes them from the system entirely, including any group memberships. Use this when someone has left your organization or was added by mistake.