Managing Requirements
Requirements are the policies, training courses, certifications, or other items that your employees need to complete. This page explains how to create, edit, publish, and close them.
Viewing Requirements
Section titled “Viewing Requirements”Click Requirements in the sidebar to see your full list.
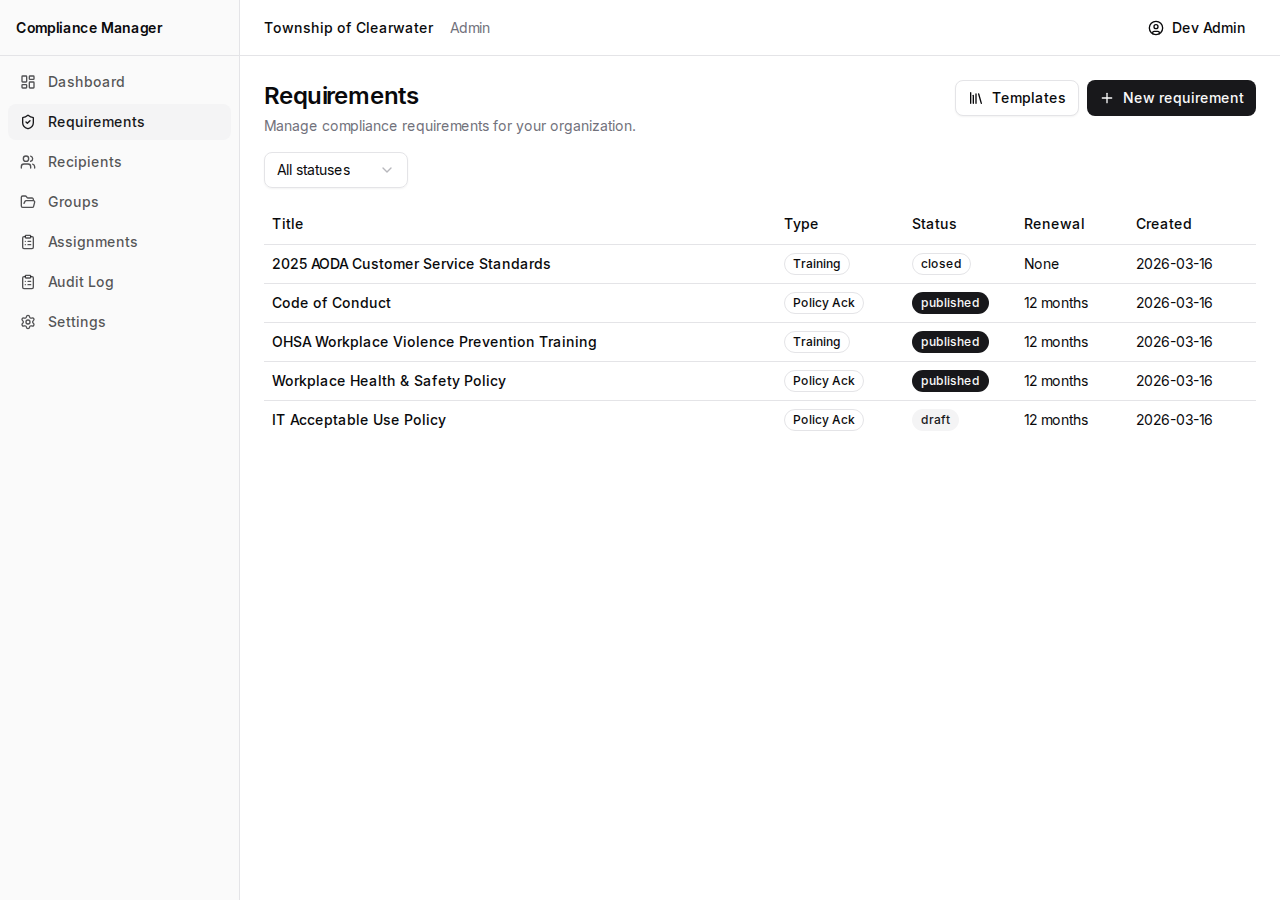
The table shows:
| Column | What it means |
|---|---|
| Title | The name of the requirement. |
| Type | A badge showing the kind of requirement (Policy Ack, Training, etc.). |
| Status | A badge showing whether the requirement is in Draft, Published, or Closed status. |
| Renewal | How often the requirement needs to be completed again (e.g., every 12 months). |
| Created | The date the requirement was first created. |
Use the status filter at the top of the page to show All, Draft, Published, or Closed requirements.
Creating a New Requirement
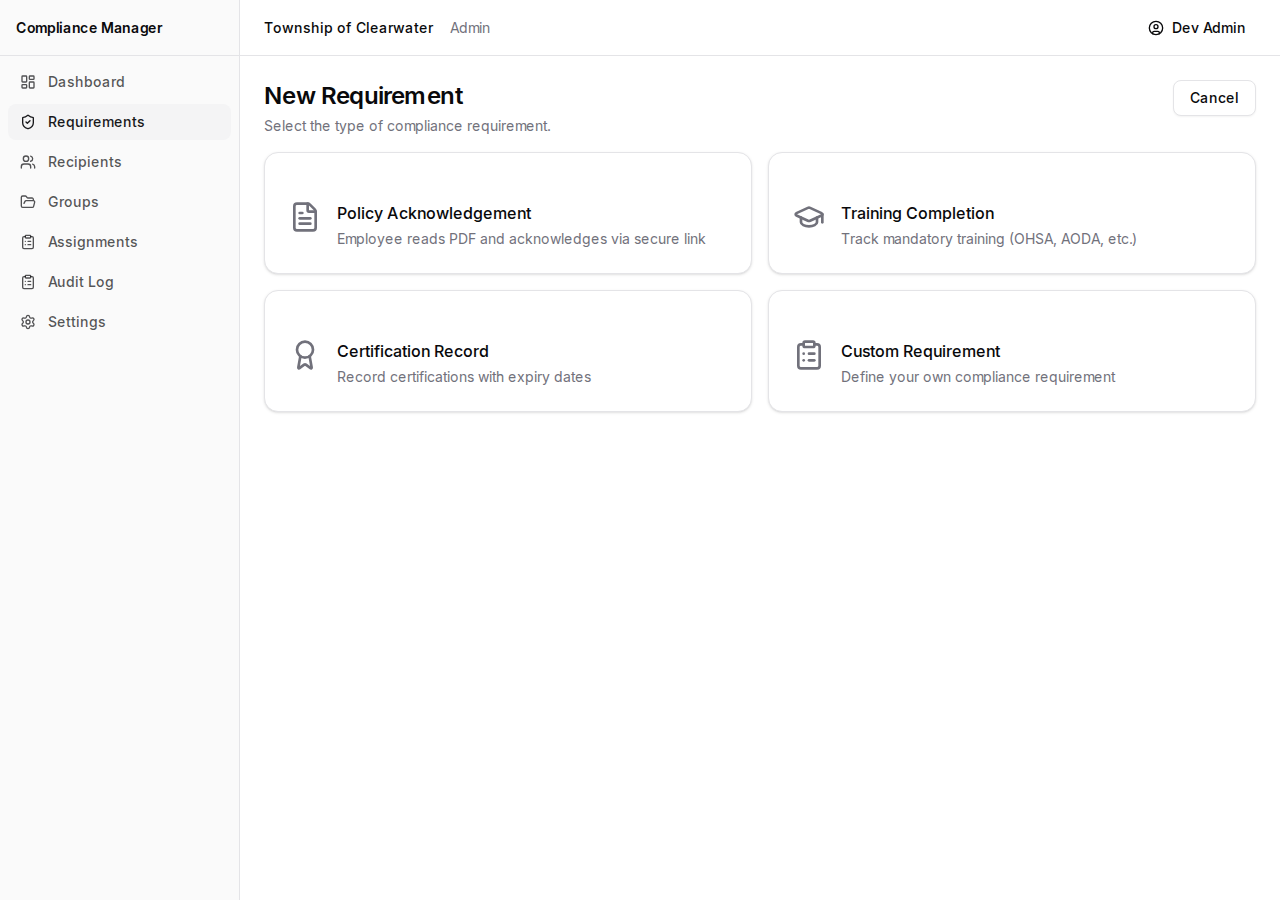
Section titled “Creating a New Requirement”- Click the New requirement button.
- Choose a type:
- Policy Acknowledgement — For policies that employees read and acknowledge.
- Training Completion — For training courses employees must finish.
- Certification Record — For certifications employees must hold.
- Custom Requirement — For anything else your organization needs to track.
- Fill in the details:
- Title — A short, clear name for the requirement.
- Description — A brief explanation of what the requirement is about.
- Completion method — How employees will complete it:
- Self-acknowledge — The employee marks it complete themselves.
- Clerk-marked — You (the admin or clerk) mark it complete on their behalf.
- Both — Either the employee or the clerk can mark it complete.
- Renewal period — How often the requirement must be completed again.
- For Policy Acknowledgement types, you will also:
- Upload a PDF of the policy document.
- Set an effective date (when the policy takes effect).
- Set an expiry date (when the policy expires).
- Click Create requirement.
The new requirement starts in Draft status. It will not appear in assignments until you publish it.
Using Templates
Section titled “Using Templates”Templates save time by providing pre-configured requirements based on common Ontario compliance needs.
- On the Requirements page, click the Templates button.
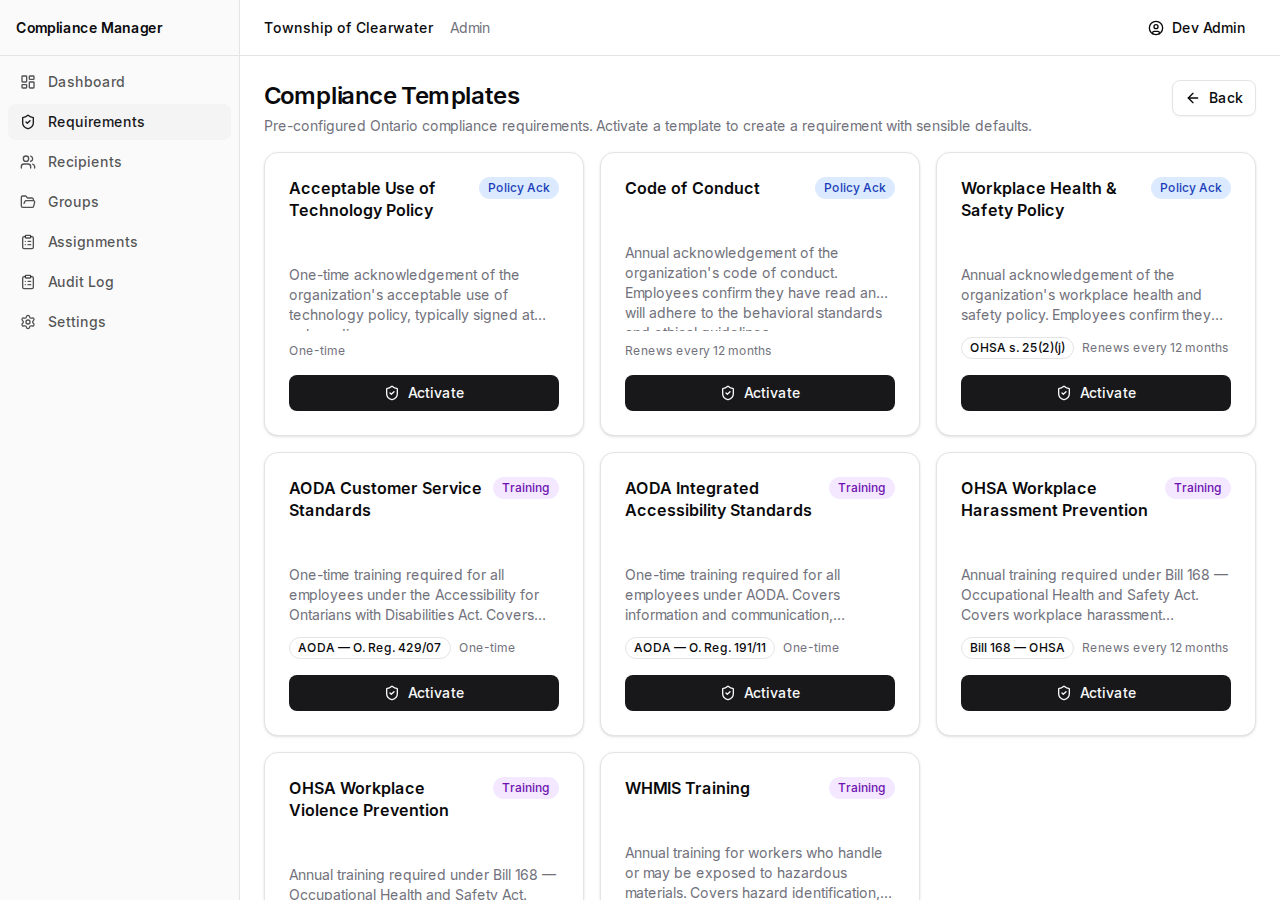
-
Browse the available templates. Each one shows:
- A type badge (Policy Ack, Training, etc.).
- A short description of the requirement.
- The legislative reference it relates to (e.g., OHSA, AODA).
- The suggested renewal period.
Some of the templates you may see include:
- OHSA Violence Prevention
- AODA Customer Service
- WHMIS
- And others relevant to Ontario workplaces.
-
Click Activate on any template to create a new draft requirement with the template’s defaults already filled in.
-
Review the pre-filled details, make any changes you need, and then publish when ready.
Editing a Draft
Section titled “Editing a Draft”Only requirements in Draft status can be edited.
- Open the draft requirement by clicking its title.
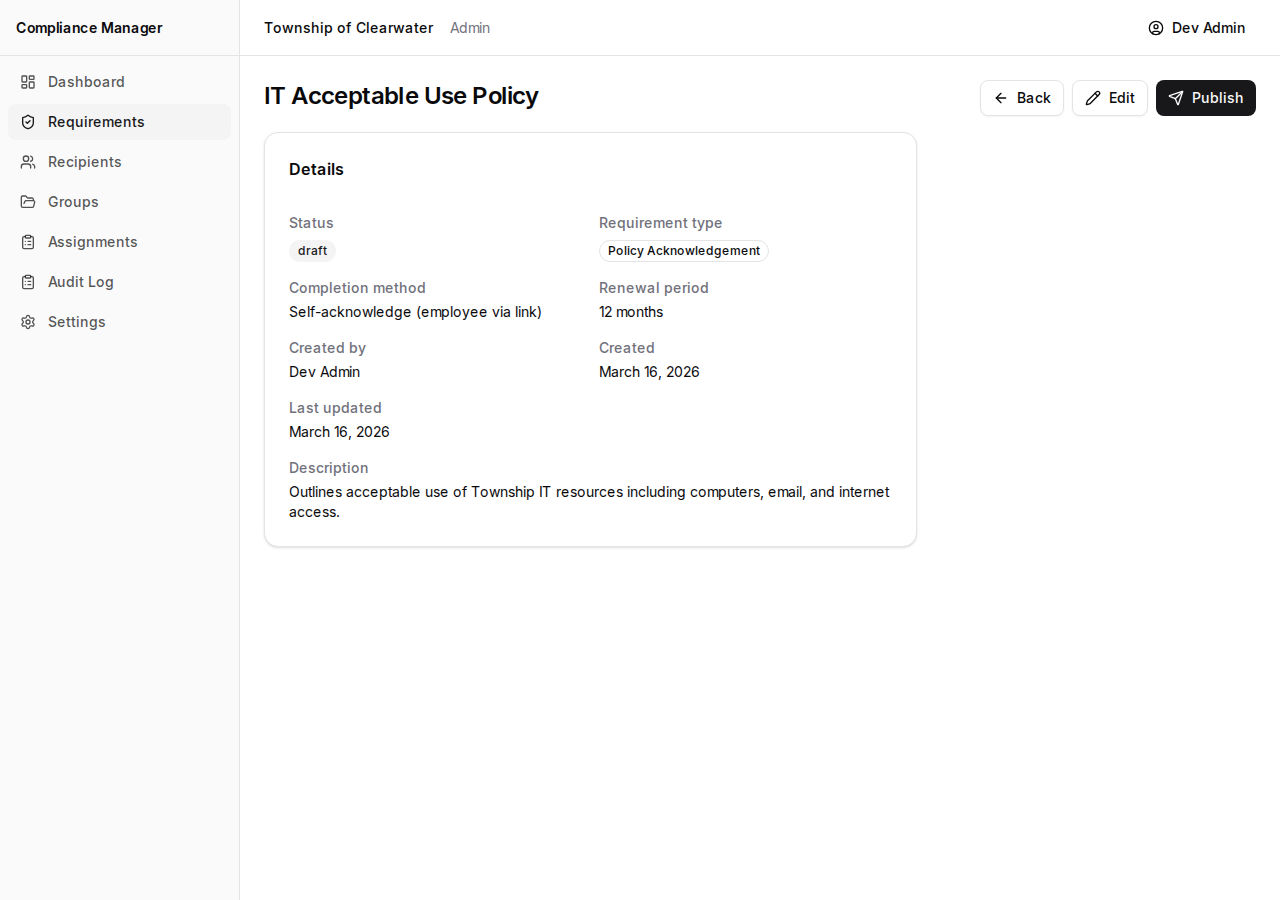
- Click Edit.
- Change any fields you need to update (title, description, completion method, renewal period, etc.).
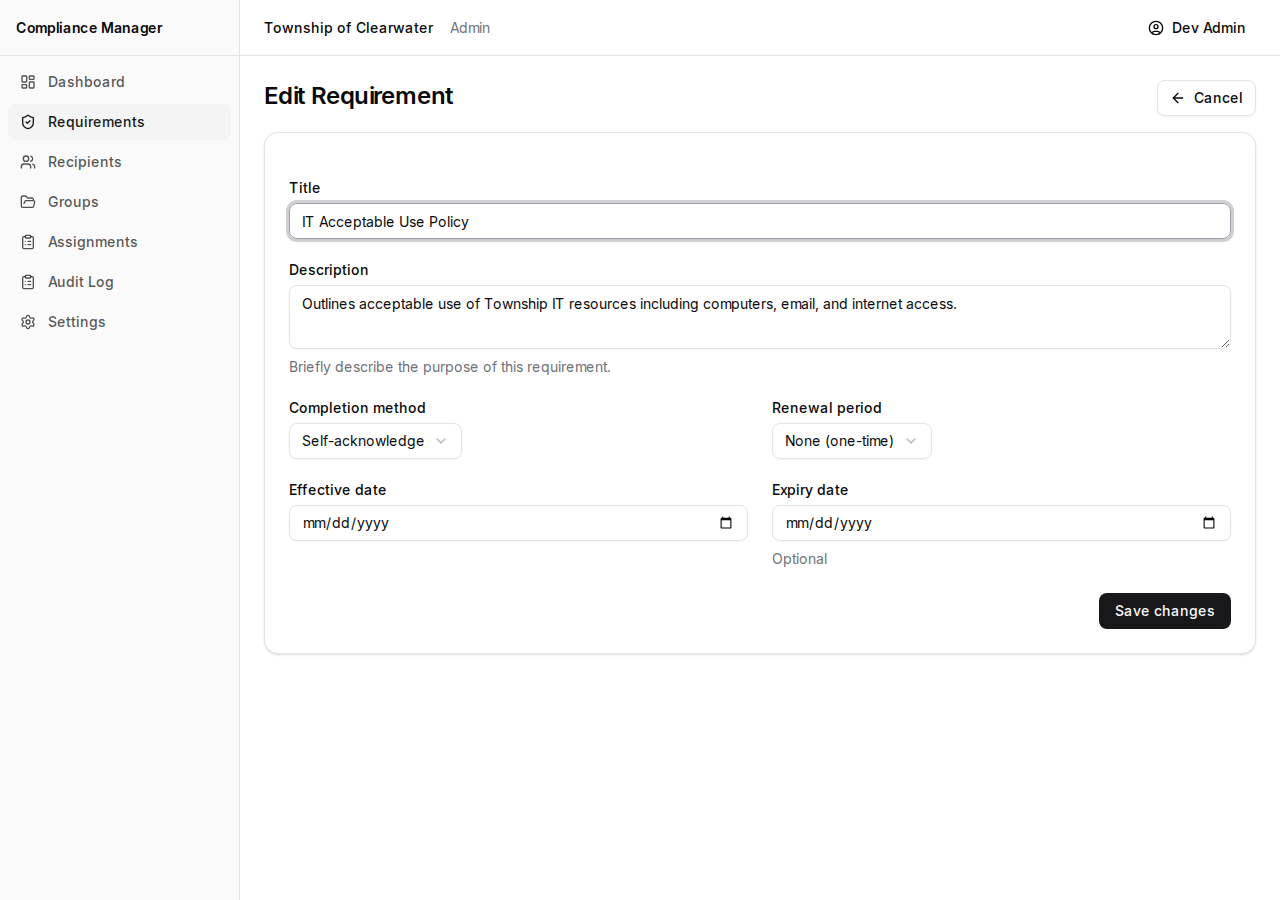
- Click Save changes.
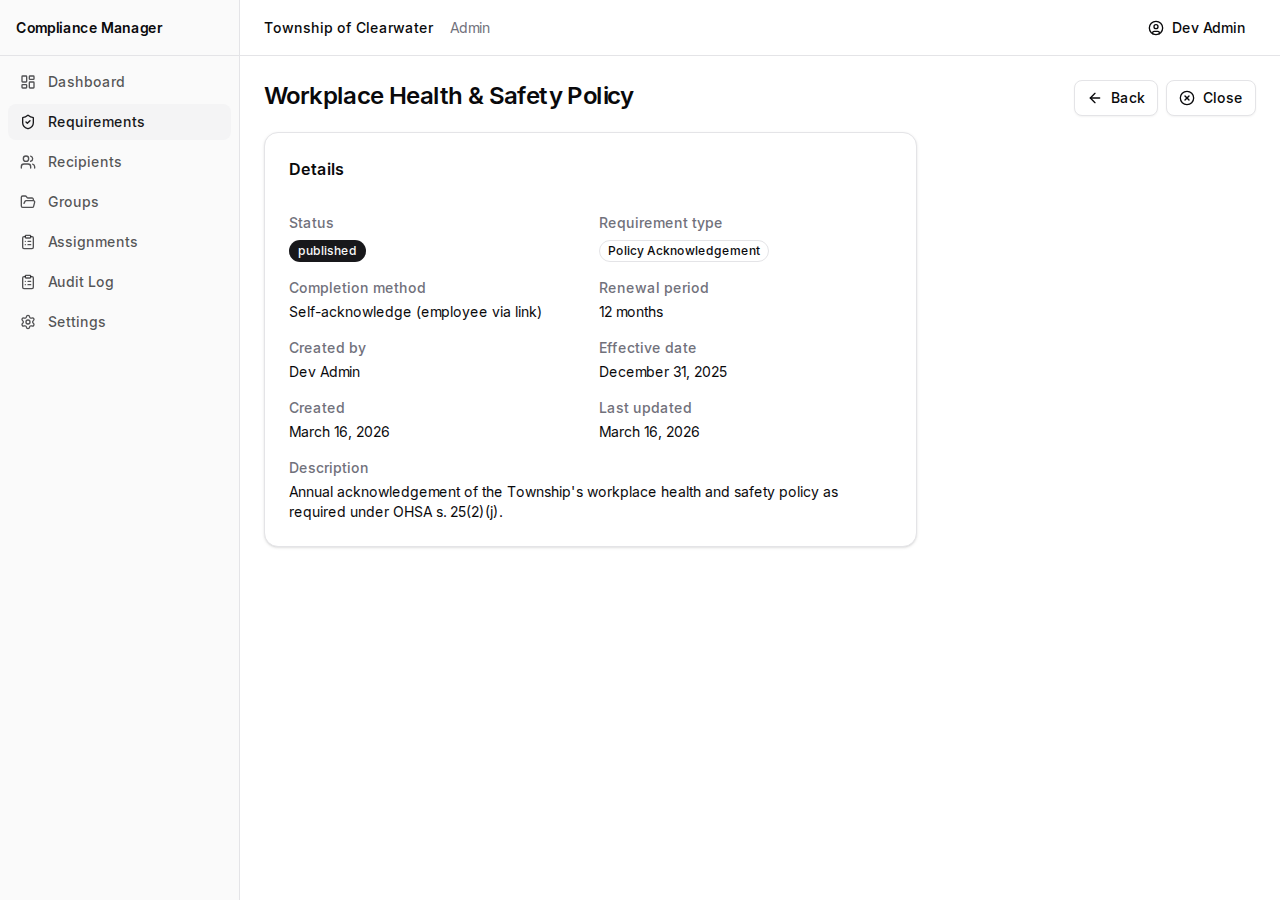
Publishing
Section titled “Publishing”Publishing a requirement makes it available for assignments. Once published, the requirement can no longer be edited.
- Open a draft requirement.
- Click Publish.
- A confirmation dialog will appear. Confirm that you want to publish.
After publishing, the status badge changes from “Draft” to “Published” and you can begin assigning the requirement to employees or groups.
Closing
Section titled “Closing”When a requirement is no longer needed for new assignments, you can close it.
- Open a published requirement.
- Click Close.
- Confirm in the dialog.
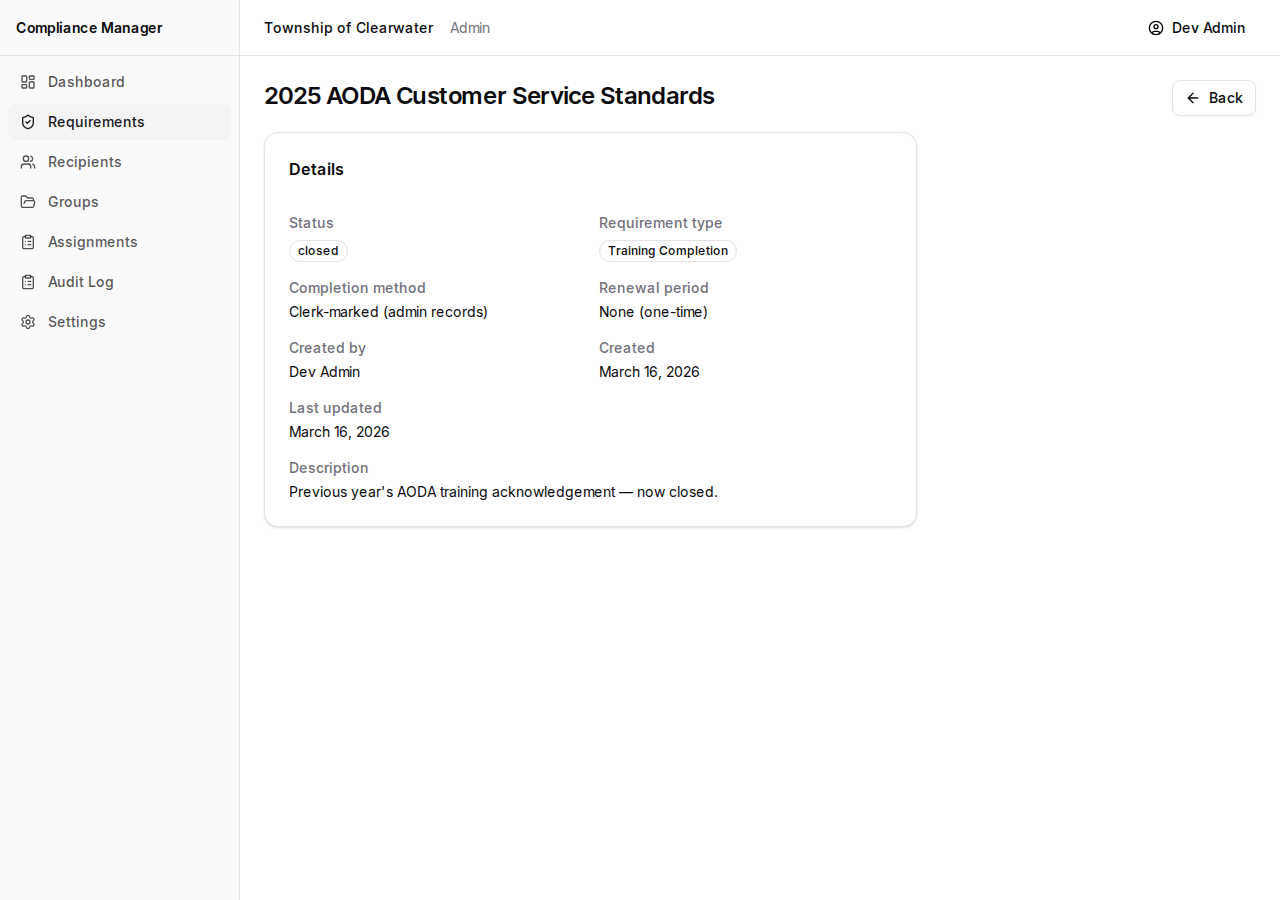
Closed requirements:
- Cannot be used in new assignments.
- Still appear in historical records and the audit log.
- Existing assignments tied to the closed requirement are not affected.
Downloading the PDF
Section titled “Downloading the PDF”If a requirement has an attached policy document, you can download it from the requirement’s detail page.
- Open the requirement by clicking its title.
- In the right-hand column, find the File card.
- Click Download PDF to view or save the document to your computer.
This is helpful when you need to review the exact document that employees are acknowledging, or when you need to share a copy with someone outside the system.